
How to put kayak on roof rack by yourself -(Guide)2022
If you’re looking How to put kayak on roof rack by yourself, you need to follow this guide. It’s true! The roof rack is convenient for carrying your kayak to the beach or a favorite fishing spot.
It’s simple, it’s easy, and it’s fast. When it comes to kayaking, many things can go wrong. You may have a bad day at the beach, or the weather turns ugly. Instead of letting them ruin your fun, you should be prepared.
That’s why I’m sharing this guide. It will teach you how to put a kayak on the roof of your car. It will save you both time and money. So, let’s get started.
What is a roof rack?
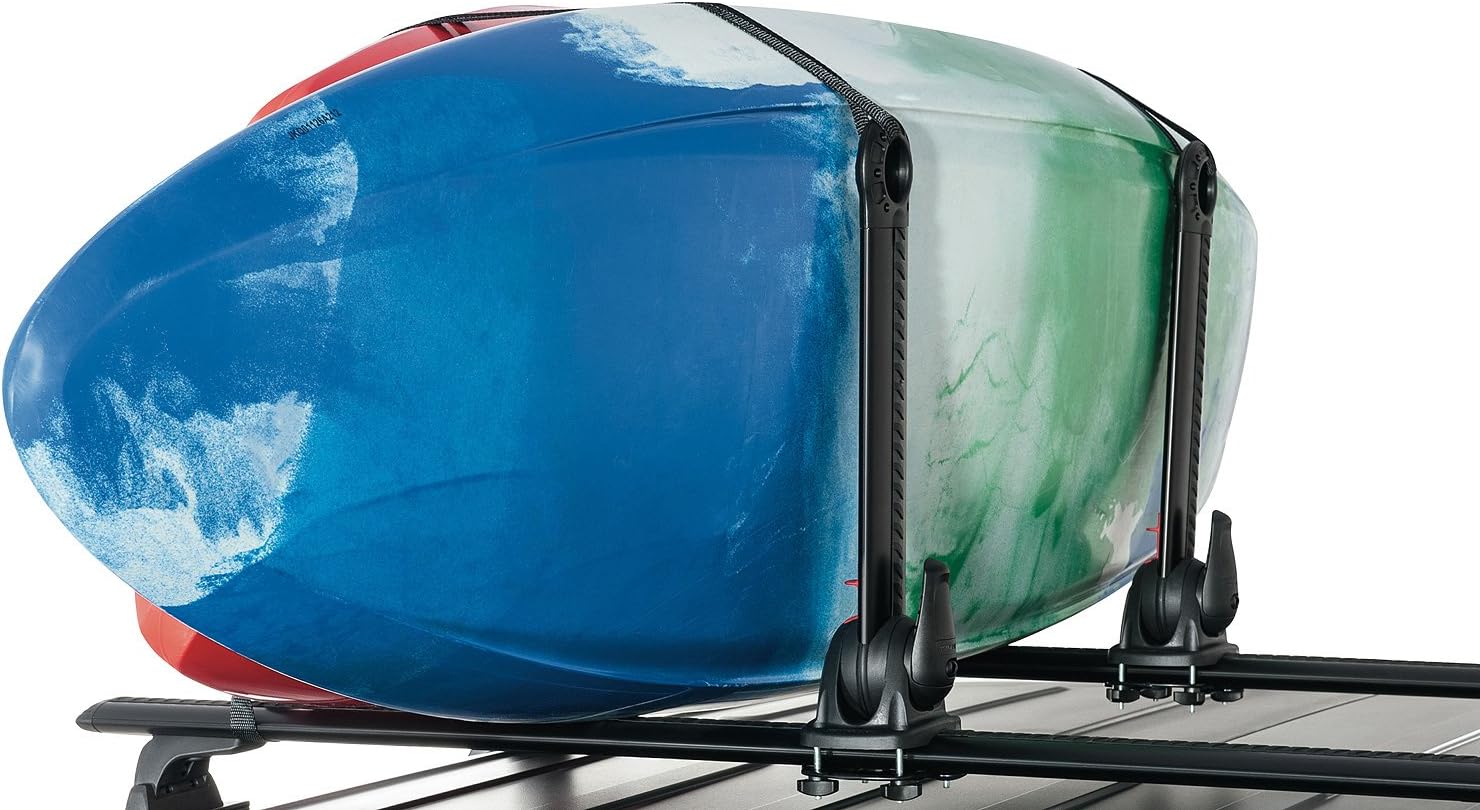
The roof rack is a piece of equipment that allows you to transport your kayak safely.
You can find a roof rack for kayaks at most major retailers. They’re usually sold in pairs. The roof rack attaches to the roof of your car, and the kayak clips onto it.
The roof rack is great because it helps you avoid lifting the kayak. This can be a real pain. There is no way around it. It would help if you raised the kayak.
When you use a roof rack, you need to remember to store the kayak away from the front of your car. You can damage the kayak or the roof rack if they bump into each other.
How to put kayak on roof rack by yourself:
If you’re trying to put a kayak on the roof of your car, you’ll need a few things.
1. Hooks. . These are made of metal. They’re usually found on the side of the vehicle. You’ll need at least two hooks for each kayak.
2. Clips.
There are lots of different types of clips. You want something to keep your kayak out of harm’s way. Gravity can’t be relied on.
3. Straps. You’ll need a set of straps that will fit your kayak securely. They can be made out of rope or webbing. I prefer string because it’s stronger.
4. Cable ties. These are other options for securing your kayak to the roof of your car. The best ones don’t make it hard to remove the kayak.
5. Rubber bands. These are great if you want to use straps. They’re flexible and don’t leave any marks on your kayak.
What are the steps to installing a roof rack?
Find your roof rack. You can find several different models of roof racks on Amazon, and you can even buy them here. The process is pretty simple.
Step 1: Remove the seat and attach a strap to it.
Before you start, you need to remove the seat from the kayak. After that, you’ll need to find the attachment points on the kayak. There are four spots on the bottom of the kayak, which you’ll need to attach the strap to. You can use a car jack to lift the kayak to see where to attach the strap. Once you’ve found the correct spot, you’ll need to drill a hole into the kayak. The best tool for the job is a drill. I’d recommend using a carbide-tipped drill bit. It’s much safer than a regular bit, and it won’t scratch your kayak’s finish.
Step 2: Attach the strap to the kayak
If you’ve never strapped a kayak to a roof rack before, the process is pretty straightforward. You’ll need to purchase a roof rack, attach the strap to the kayak, and then install the belt to the roof rack.
There are many different types of kayaks and roofs, and each of them requires a slightly different approach. You’ll need to figure out how to attach the kayak to the roof rack.
You can use a strap, a carabiner, or even a bungee cord. I prefer a strap because it’s easier to use and more secure.
Step 3: Attach the seatback
If you’re having difficulty figuring out the best way to attach the seatback, here are some tips.
- The kayak can be put on the roof of a car. Check the manufacturer’s instructions if you’re unsure where to put them.
- Check the angle of the seatback and the seat.
- The kayak should be on a level surface. If it’s not level, adjust it so that it’s flat.
- Attach the seatback. Use the straps on the seatback, and tighten them until the seatback is tight.
Step 4: Put the seatback in place
You need to figure out how to attach the seat to the roof.
It would help if you found a place for your kayak to be stored when it’s not in use. The kayak’s center of gravity is something you will want to see. This is where the seat needs to be installed. You can now begin to install the seat. Make sure you don’t over-tighten the mount.
Step 5: Connect the boat to the car
It is time to start thinking about your next kayaking trip. You have to figure out where you are and how you will get there. The first thing to do is to connect the kayak to the car. You can enjoy your trip without having to worry about your boat. You can strap the kayak onto the roof of your vehicle once you connect the ship to the car.
Step 6: Make Sure Everything Is Tight
You may be tempted to skip this step, but you’ll regret it later. If your kayak is loose, it’s going to move around. So it would help if you made sure that everything is tight. You can follow these steps:
- Open your door
- Check the straps
- Tighten the straps
- Check the straps again
- Put the car in gear
- Close the door
Conclusion:
Now that you know the best way to strap a kayak to a roof rack, you can take it one step further by ensuring the kayak is secured correctly. It’s a great way to carry a kayak from place to place. Plus, it’s easy to use and requires little maintenance. You can make this task easier by attaching a rope to the kayak and pulling it tight to the roof rack. But you can also secure the kayak with a bungee cord. I recommend this method because it’s the easiest, safest, and most convenient way to carry a kayak. And if you’re like me, you’ll love the convenience of having your kayak anywhere.


![How to Train for Kayaking- 7 best Kayaking Techniques to Learn [2022]](https://kayakwaves.com/wp-content/uploads/2022/05/train-for-kayaking-768x411.jpg)
![Kayaking Gear For Beginners- Best Guide [2022]](https://kayakwaves.com/wp-content/uploads/2022/06/kayak-gear-768x411.jpg)

